Installation Middleware4j
The application should be downloaded from Downloads
You will find versions for Windows (32 and 64 bit), MacOS and Linux. The screens below show the Windows installation.
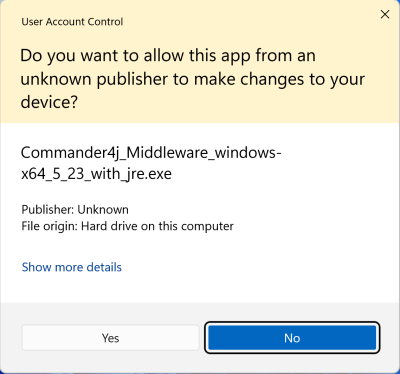
Windows will ask you to confirm that you want to install the software. Click Yes if you want to proceed.
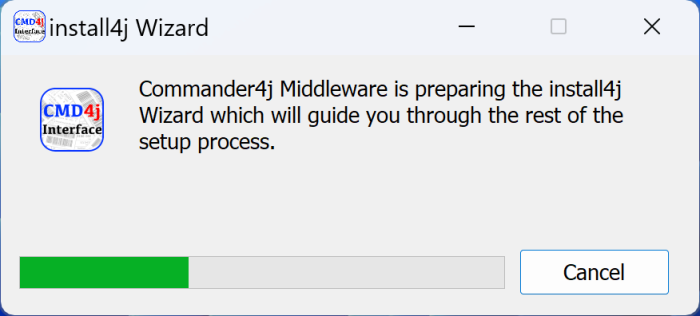
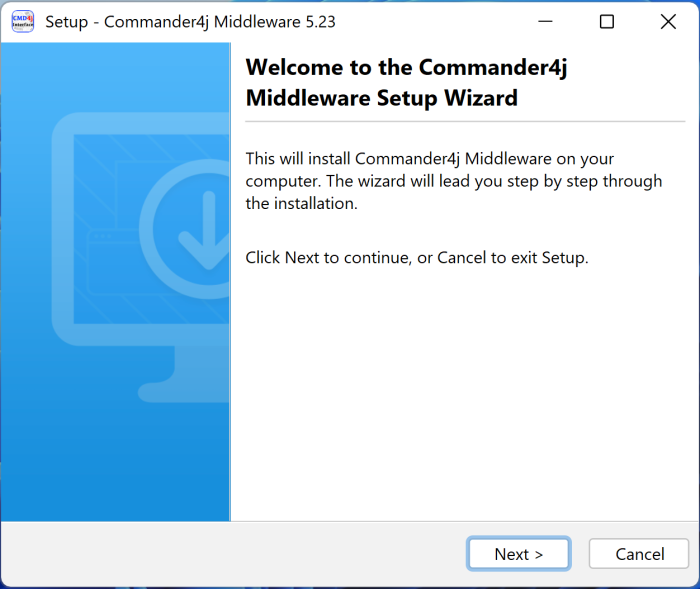 Click on Next to begin the install.
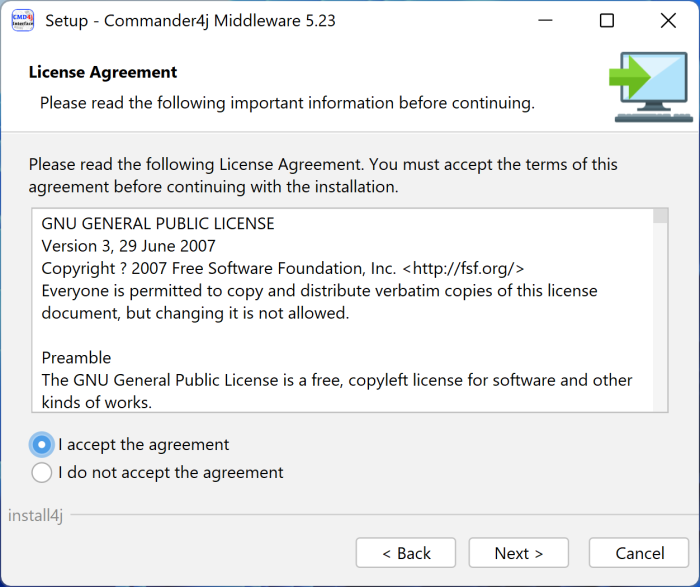 The licence is displayed for you to read. If you are happy with it then click Agree.
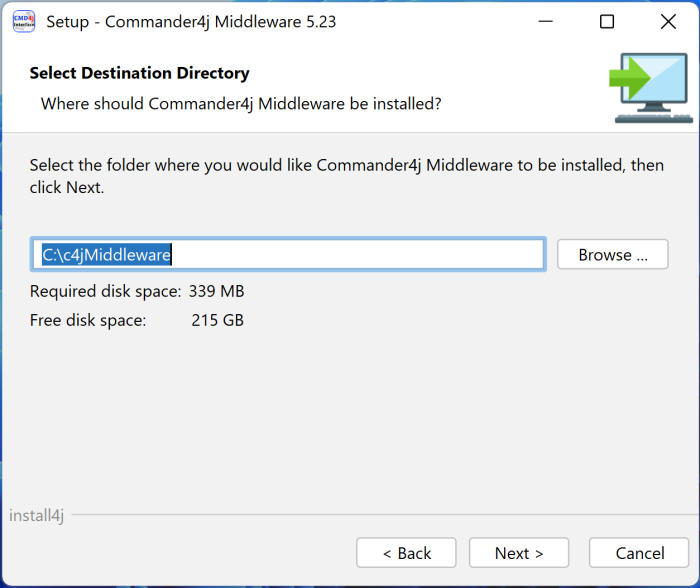
The default installation path is shown. I recommend not installing into the Windows Program Files folders as those folders will default to read-only after the install and this will cause issues with message processing and log files.
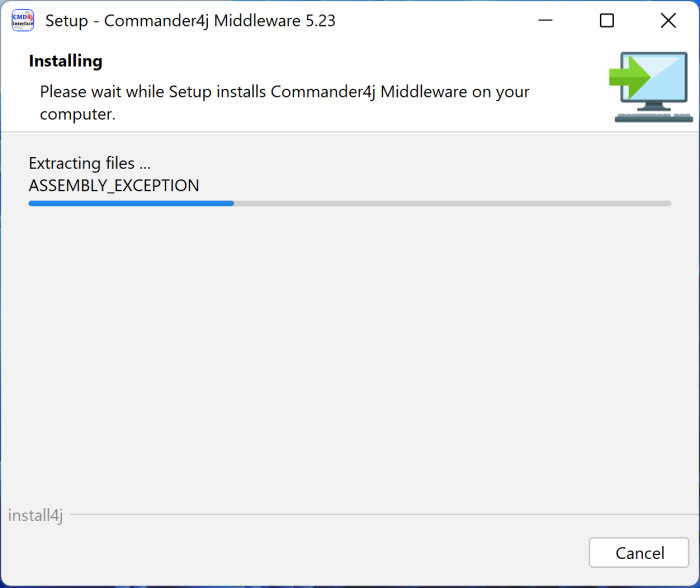 The install progress is displayed.
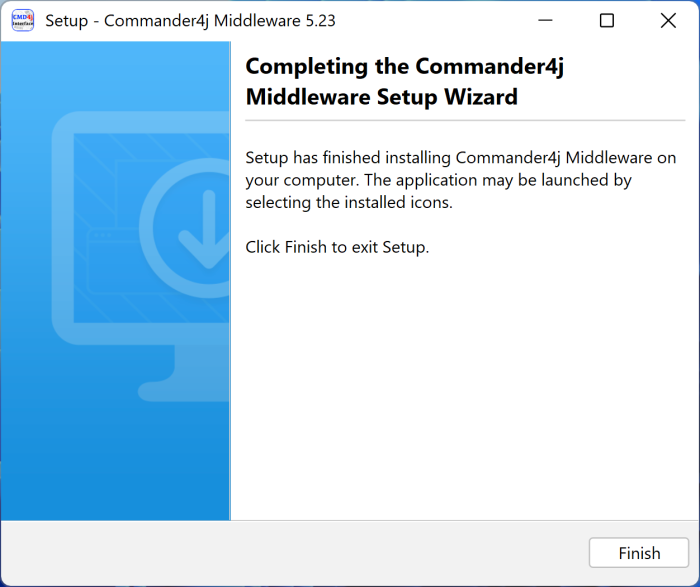 This message will be displayed when the install is complete.
At this point you can run the Middleware GUI application which is just a standard visual status display.
However the middlware application is intended to be an always on backgroud task which just processes messages without any interaction.
To configure middlware to run as a service on a Windows computer use the following steps.
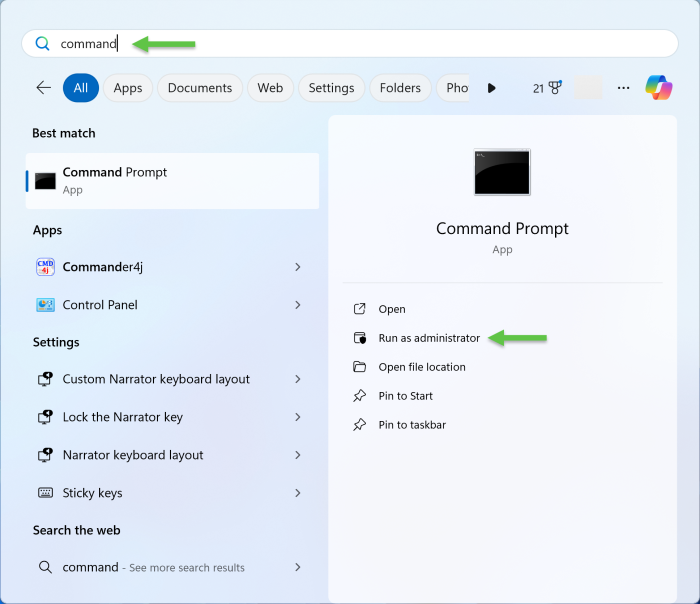
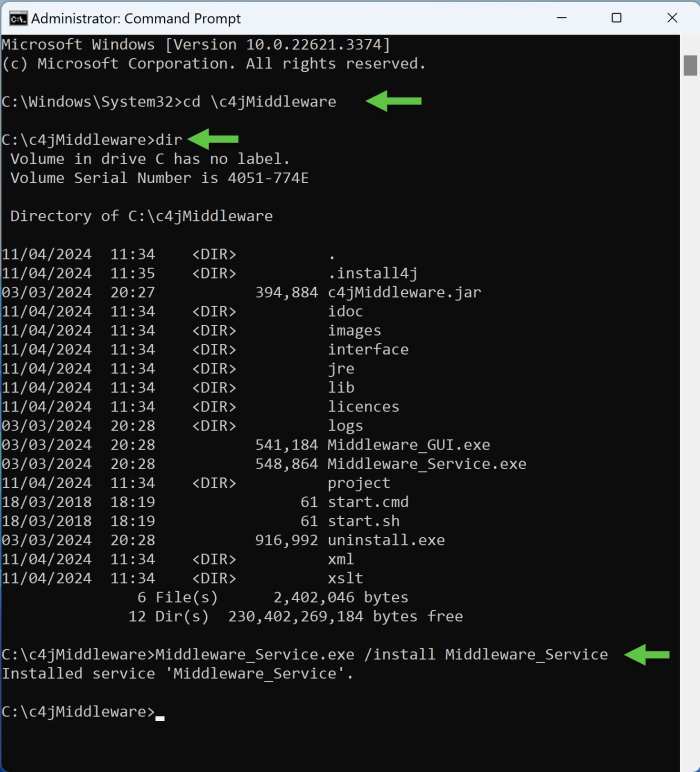
In order to install a windows service you need to run a command from the command prompt with admin permissions. This is a windows requirement.
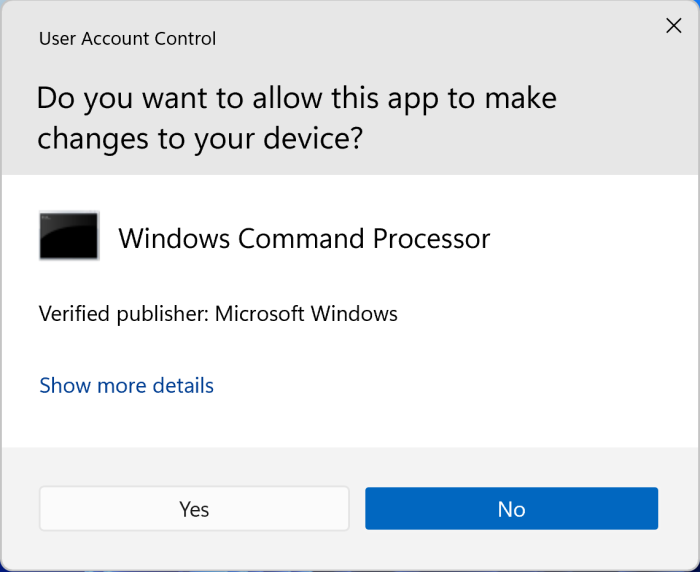
Windows will ask you if you are sure you want to open the command prompt with admin rights.
When the command prompt has opened you need to change into the folder where you installed the application. Then run the command shown above.
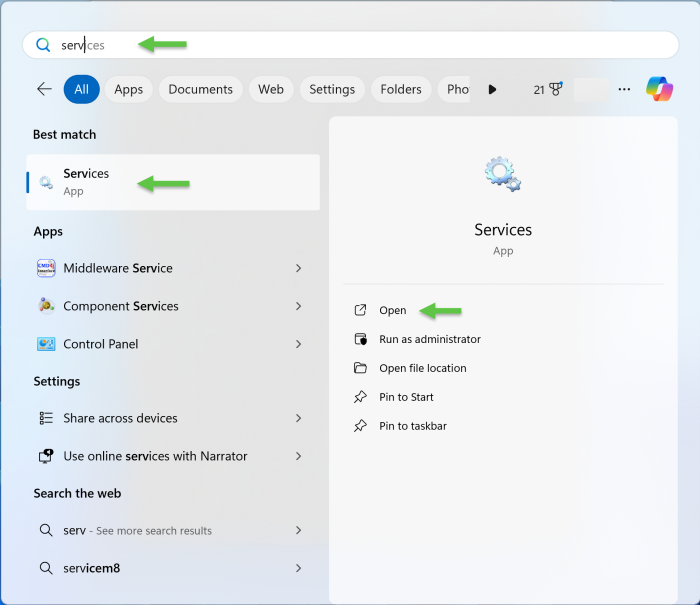
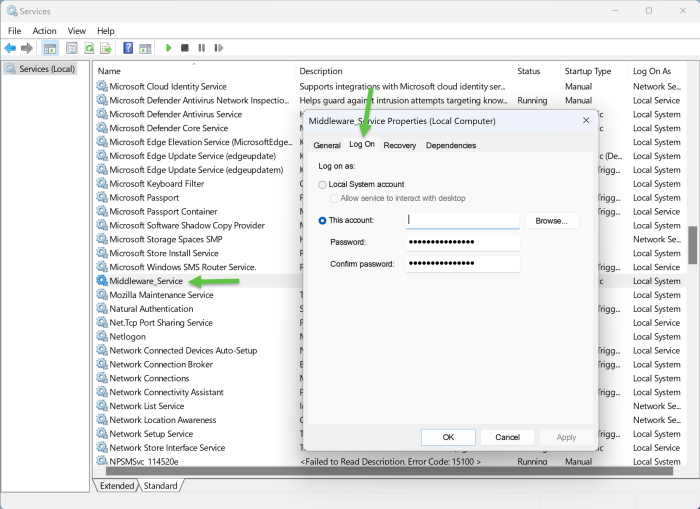
By default the account which a newly created service runs under is "System" which won't allow the program to connect to things like network shares. If you want the middleware to be able to collect and process files from network shares you will need to amend the service to run under a regular windows account - possibly a domain account. The account to use is your choice and depends on the folder/share/file permissions that you want the middleware to access. See the next screen for information on how to assign a specific account to the service.
